Debugging Stream Playback Issues
Are you experiencing stream playback issues? Are you interested in having a more complete understanding of how to evaluate stream health? At this point, you’ve tried our five minute streaming tutorial or have tried interacting with our API directly, but are not seeing streams play back as they should. Read on for a couple of tools, tips and tricks to try on your own, before having to reach out to us for more in-depth debugging support.
Step 1: Locate your Playback URL
If you’re using the livepeer.com UI, you’ll find your playback URL on that specific stream’s page. The URL to that stream page should look something like this: https://livepeer.com/app/stream/<stream-id>. Make sure you select the playback URL specific to the ingest region you’re using to stream. For example, if you’re using rtmp://fra-rtmp.livepeer.com/live/<stream-key>, select the corresponding playback URL, which should look something like this: https://fra-cdn.livepeer.com/hls/6a35pdxxxxxxxxxx/index.m3u8.
If you’re using the API directly, take a look at this guide on finding your playback URL by combining a base URL with a playbackId. If you don't know your stream playbackId, you can retrieve it via a GET request to the stream endpoint, followed by the stream’s id: GET /stream/<stream-id>.
Step 2: Determine Video Playback Issue
If you have access to a video player in your own application, or to a test player you typically use, determine what issue you’re having when loading the playback URL into the player:
- Is the video not playing in your application or player at all? Go to step 3.
- Is the video playing, but the quality is poor? Go to step 6.
- If you’re not sure, go to step 3.
If you don’t have a player you’re testing with, or if the issue is happening in a player you don’t have access to, go onto the next step.
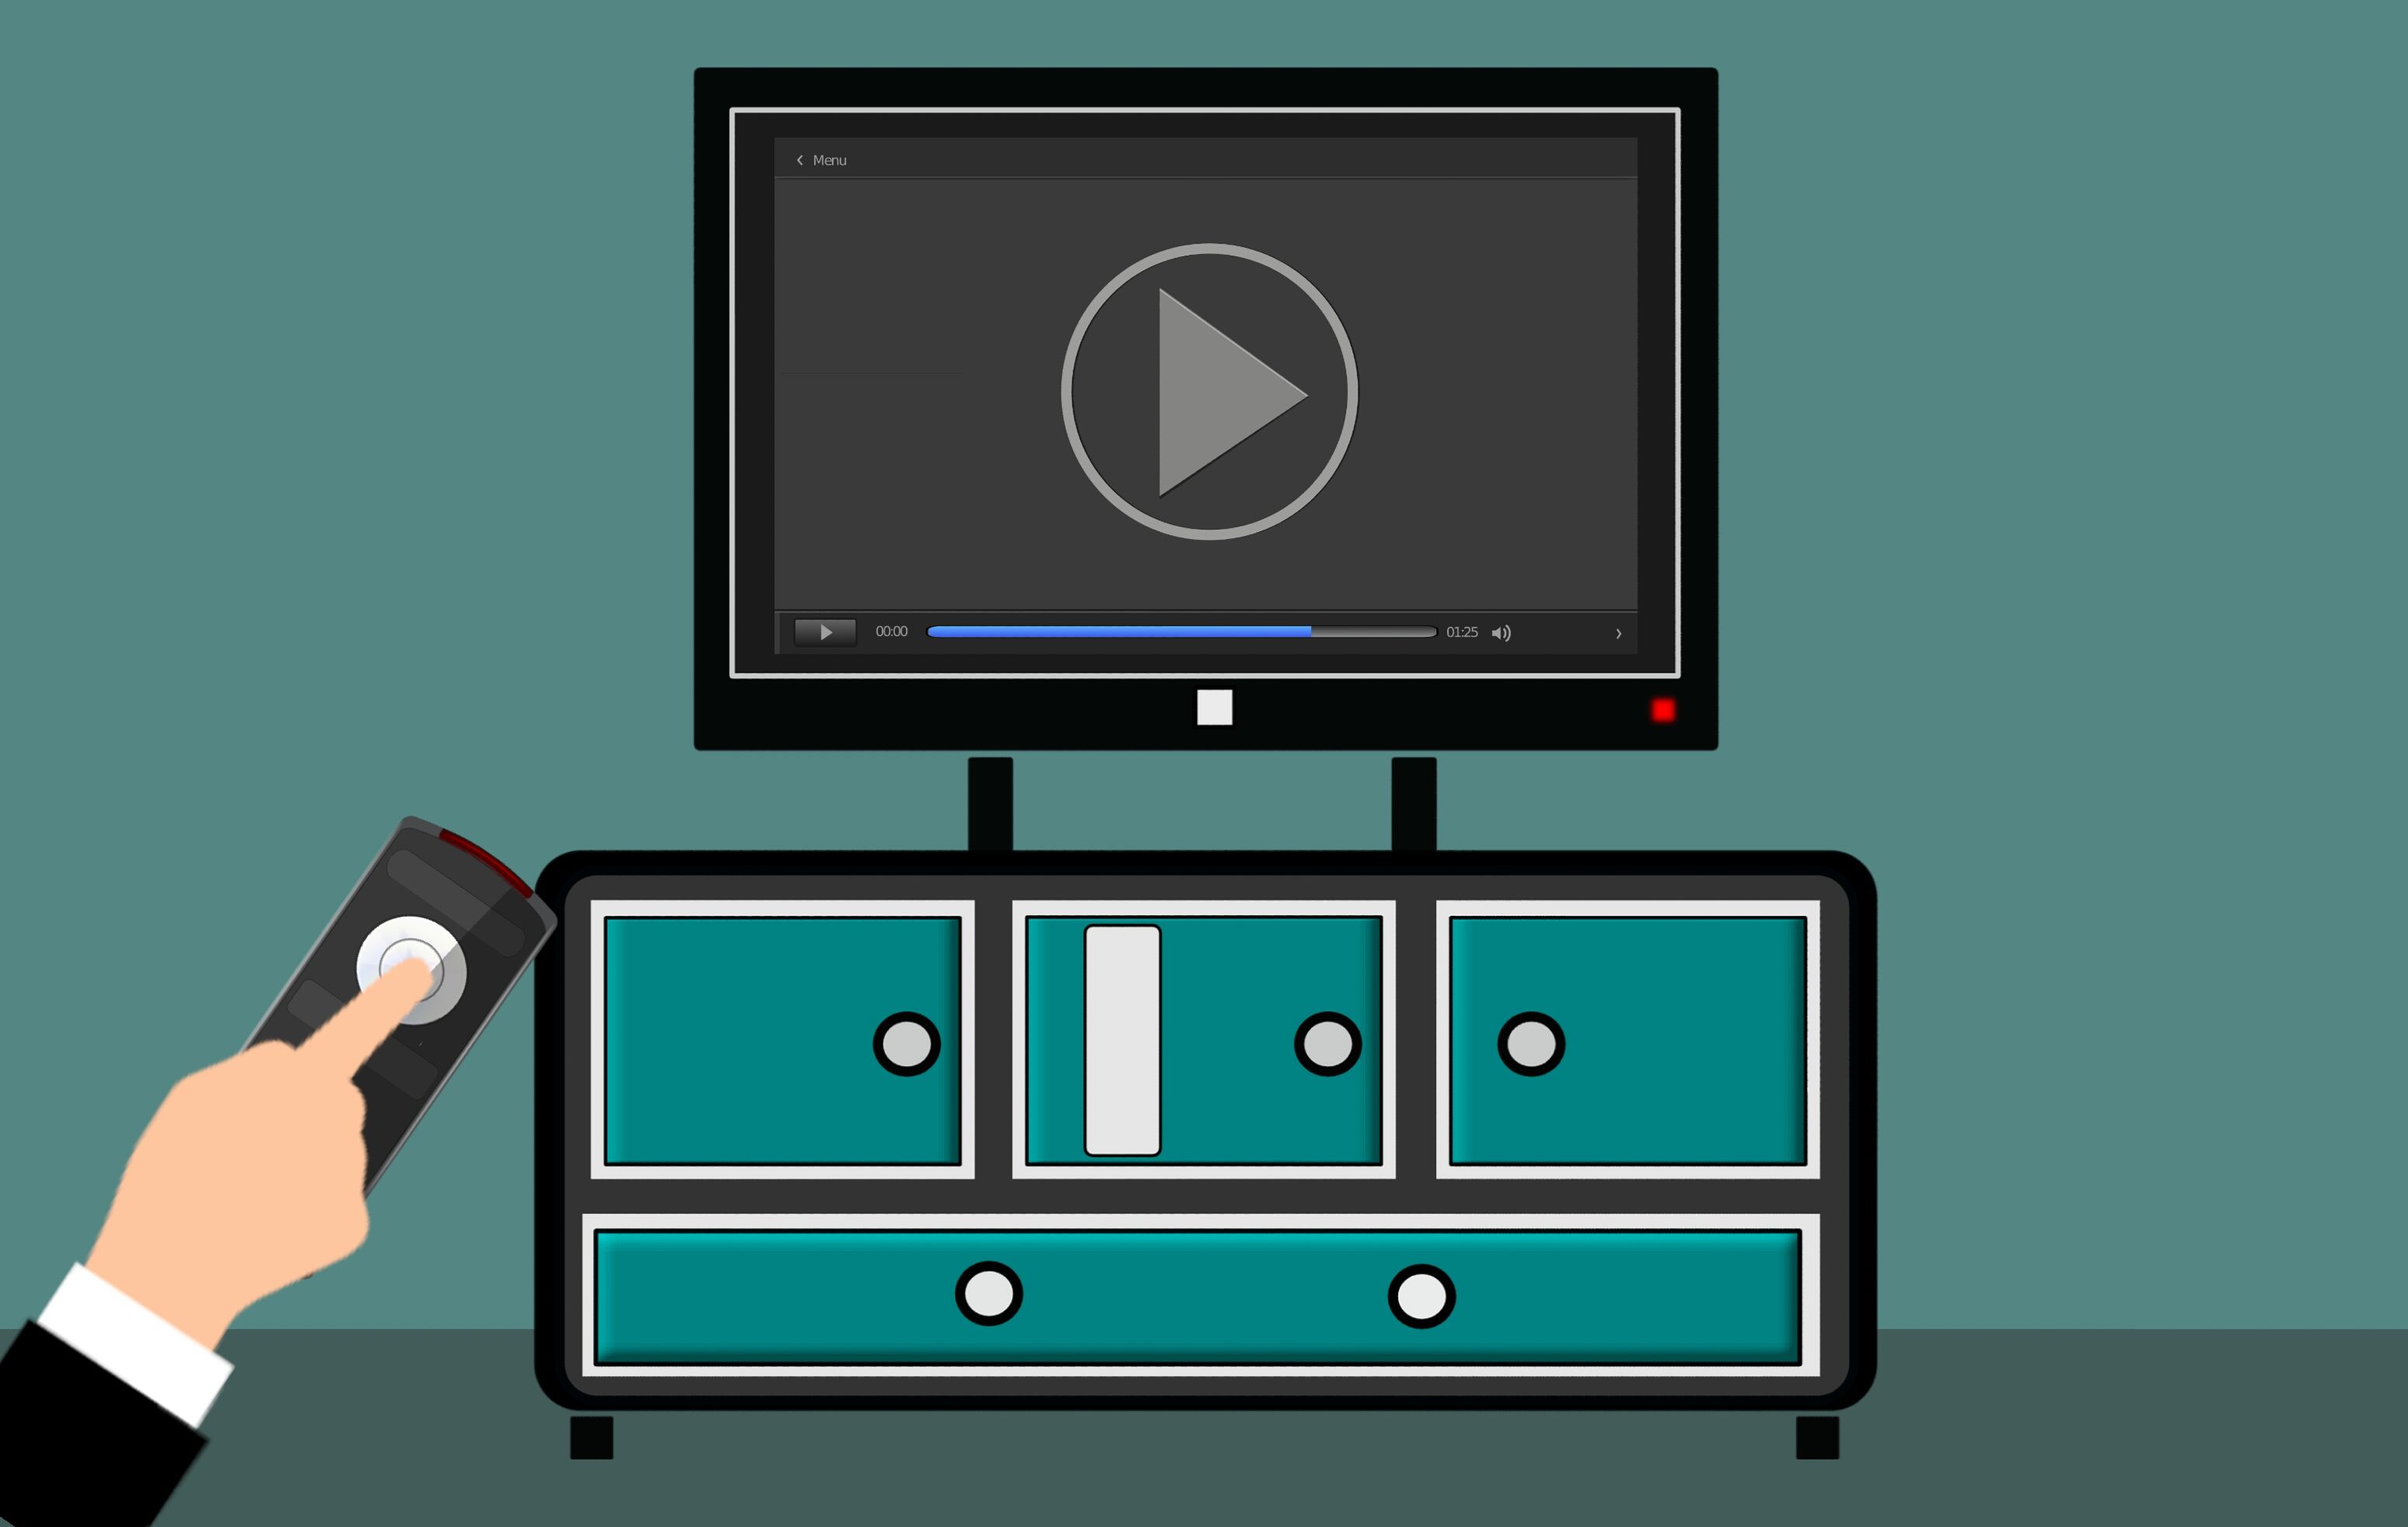
Step 3: Test Playback URL in the Livepeer Test Player
Load your playback URL in the Livepeer.com test player. If you get a "Stream not found" error, confirm that your URL is correct. It should look something like this: https://region-cdn.livepeer.com/hls/123456abcdef7890/index.m3u8
Step 4: Determine Video Playback Issue in the Livepeer Test Player
Once you load your Playback URL into the Livepeer Test Player, does anything play back?
- Yes, the quality of video is great in the Livepeer Test Player, but not in my own player: Go back to step 1 and check if you are using the correct playback URL in your own application or player. If the URL is correct, there may be something wrong with your player configuration.
- No: Go to the next step.
- Yes, but the quality is poor: Go to step 6.
Step 5: Check Stream Status
Check the stream status below the Livepeer.com test player. Is it active?
- No: No video is being ingested.
Confirm your or your streamer’s broadcast software RTMP configuration is set up properly. If you are using OBS to stream into Livepeer, check out steps 4-5 in this blog post and make sure all looks correct on your end.
- Yes: Go to the next step.
Step 6: Check if Transcoding is Happening
Is there only one profile listed next to Playback settings below the Livepeer.com test player?
- No: If two or more profiles are listed, go to the next step.
- Yes: You are not transcoding your source stream and not taking advantage of Adaptive Bitrate Streaming (ABR). Only the source profile is available for playback via the Livepeer.com CDN.
Make sure your broadcasting workflow is stable - the RTMP stream hitting Livepeer's ingest server seems to be having issues.There may be something wrong with your source stream. If you can, set the keyframe interval to 2 in your/your streamer’s broadcasting software. Try ensuring a stronger internet connection at the source via a wired ethernet connection or by broadcasting on a more reliable network. If the resolution, FPS and/or bitrate of the source stream is very high and if your internet bandwidth is low, playback will be slow and choppy. Consider transcoding your livestreams.
For advanced users: see addendum to learn about curling your playlist to extract information from your playback URL directly.
Step 7: Check Profiles FPS (for API users only)
Make a GET request to the Livepeer API stream endpoint with your stream-id to check the stream’s profiles. Do all of the profiles have the same FPS?
- No: Your profiles' FPS is configured incorrectly. To fix that, create a new stream and set all profile FPS to the same value. For best performance, set them between 5 FPS and 60 FPS. Setting FPS to 0 is also acceptable and passes through the source FPS to the transcoded renditions.
- Yes: Go to the next step.
For advanced users: see addendum to learn about curling your playlist to extract information from your playback URL directly.
Step 8: Check Source Stream in Livepeer Test Player
Go back to the Livepeer.com test player and make sure your playback URL is loaded.
The left player shows your source stream, as served by the Livepeer.com CDN with the transcoded renditions via the playback URL. This player is configured to only playback the highest resolution available. Except for in rare occasions, the highest resolution is the non-transcoded source stream i.e. the stream sent from your broadcast software.
Compare the source video in the left player with the transcoded renditions in the right player. On the right player, you can manually switch between transcoded renditions by clicking on the ⋮ symbol in the lower right corner of the player. Does the transcoded video on the right player show more problems than the source video on the left player?
- No: If you can confirm both the videos on the right and left have similar issues, there is something wrong with your source stream. If you can, set the keyframe interval to 2 in your/your streamer’s broadcasting software. Try ensuring a stronger internet connection at the source via a wired ethernet connection or by broadcasting on a more reliable network. If the resolution, FPS and/or bitrate of the source stream is very high and if your internet bandwidth is low, playback will be slow and choppy.
- Yes: If you created your stream via the Livepeer.com API, confirm your profile bitrate settings are reasonable by checking this guide. If they are, reach out to Livepeer.com for further help, help@livepeer.com.
Addendum for Advanced Users: Extracting information from playback URLs using your terminal
Take a look at some background information on important parts of the video playback experience. The HLS and Manifest Files sections are especially relevant.
An easy and quick way to make sure video is being ingested into Livepeer and transcoded is to curl your Livepeer playback URL in your terminal. Example: `curl https://mdw-cdn.livepeer.com/hls/6a35pdxxxxxxxxxx/index.m3u8`. You could use this curl command to replace steps 6 and 7 in the above debugging guide.
If curling the playback URL outputs an error, make sure you are streaming video into the RTMP ingest URL that matches the region of your playback URL, and go back to step 1 of this guide to continue debugging.
We’ll break down what a non-error response means below, but it should look something like this:
#EXTM3U#EXT-X-STREAM-INF:PROGRAM-ID=1,BANDWIDTH=2650912,RESOLUTION=1792x1120,FRAME-RATE=30,CODECS="avc1.640028,mp4a.40.2"1_0/index.m3u8#EXT-X-STREAM-INF:PROGRAM-ID=1,BANDWIDTH=539704,RESOLUTION=1280x800,FRAME-RATE=29.97,CODECS="avc1.4d4020,mp4a.40.2"2_0/index.m3u8#EXT-X-STREAM-INF:PROGRAM-ID=1,BANDWIDTH=256352,RESOLUTION=854x534,FRAME-RATE=29.97,CODECS="avc1.4d401f,mp4a.40.2"3_0/index.m3u8#EXT-X-STREAM-INF:PROGRAM-ID=1,BANDWIDTH=222792,RESOLUTION=640x400,FRAME-RATE=29.97,CODECS="avc1.4d401e,mp4a.40.2"4_0/index.m3u8#EXT-X-STREAM-INF:PROGRAM-ID=1,BANDWIDTH=179976,RESOLUTION=426x266,FRAME-RATE=29.97,CODECS="avc1.4d4015,mp4a.40.2"5_0/index.m3u8The response is a list of rendition “manifests”, which tells a player what different streams and corresponding resolutions/bitrates are available for playback (read here for more background info on resolutions/bitrates). The player then uses the list to select the most appropriate stream to display.
Each line starting with `EXT-X-STREAM-INF:` represents a different rendition. If you take a look at the first one, you’ll see that that rendition’s resolution is `1792x1120` and its FPS or frame rate is 30. We can see that this source stream is being transcoded into 5 different renditions that all have the same FPS, with give or take a .03 of a difference.
What did you think of this guide? Get in touch with any thoughts or questions at hello@livepeer.com.
Articles you may be interested in

Ready to get started?
- Livepeer, Inc.
- 223 Bedford Ave PMB 530
Brooklyn, NY 11211 - hello@livepeer.com